Last Updated on May 5, 2025 by Jim C.
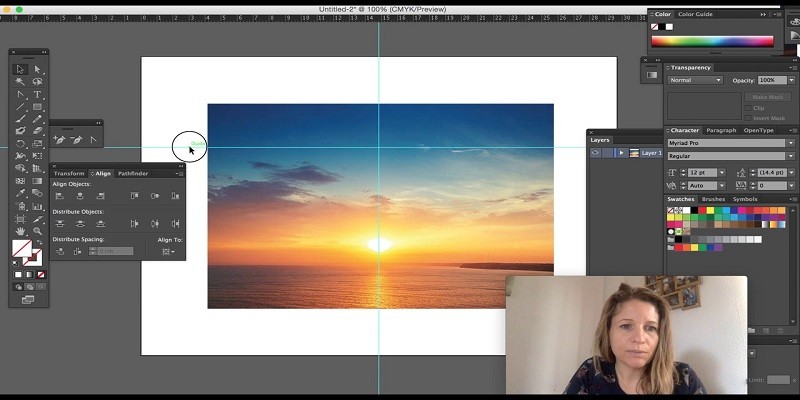
In Adobe Illustrator, you can center an object by using the Align panel. To access this panel, go to Window > Align. Once the panel is open, select the object that you would like to center and then click on Horizontal Align Center or Vertical Align Center (depending on which direction you need it centered).
This will automatically align your selection in relation to other objects or its artboard. You can also use keyboard shortcuts if desired; Cmd + Shift + C for horizontal alignment and Cmd + Shift + V for vertical alignment. Additionally, you may use the Transform Panel (Window > Transform) where numerical values can be adjusted accordingly for precise centering of your artwork.
Centering an object in Adobe Illustrator is a simple task. To do so, first select the object that you want to center. Then use the Align palette located on the right side of your screen and choose Horizontal Align Center or Vertical Align Center depending on how you would like to position your object.
Once these selections are made, press OK and voila! Your object will now be perfectly centered within its containing frame.
Credit: creativebeacon.com
How Do You Center Something in Illustrator?
Centering objects in Adobe Illustrator is easy! To center an object, select the object and then click Object > Transform > Move to open up the Move dialog box. In the Horizontal and Vertical sections of this box, enter “0” for both values – this will position your object exactly at the center of your artboard or selection.
You can also use keyboard shortcuts like Cmd/Ctrl+Shift+C to quickly center any selected object on its respective axis. Additionally, you can use Align tools located under Window > Align to easily distribute objects within a selection too.
How Do You Center an Object in Illustrator Mac?
To center an object in Illustrator Mac, the first step is to select the object. Then open up the Align menu by clicking Window > Align. Next, click on Horizontal Align Center or Vertical Align Center depending on which axis you would like to align your object with.
Finally hit OK and this will center your selected object within Illustrator!
How Do You Change the Position of an Object in Illustrator?
In Adobe Illustrator, you can change the position of an object by using the Move Tool. To select it, first click on your desired object then press “V” or go to Tools > Selection > Move Tool. Once selected, you will be able to move the object around with your mouse or arrow keys on your keyboard.
Additionally, if needed you can use a combination of Shift and Arrow keys for precise movements in 15-degree increments. When finished moving your selection simply deselect it (Ctrl + D) and continue working!
How Do I Center an Object to Another Object in Illustrator?
To center an object to another object in Adobe Illustrator, first select both objects. Then go to the Align palette and click on the Horizontal Align Center button or Vertical Align Center button depending on which axis you want the objects centered along. This will align them perfectly along that axis.
Additionally, if you need more precision you can use the Transform panel and manually enter values for either vertical or horizontal distances between two objects until they are perfectly aligned with each other.
How to center an Object in Adobe Illustrator CC 2019 – Tutorial
Shortcut to Center Object in Illustrator
If you need to quickly center an object in Adobe Illustrator, there is a simple shortcut. To do this, just select your object and press Cmd/Ctrl + Shift + C on your keyboard. This will instantly center the selected object both horizontally and vertically within its artboard or selection area.
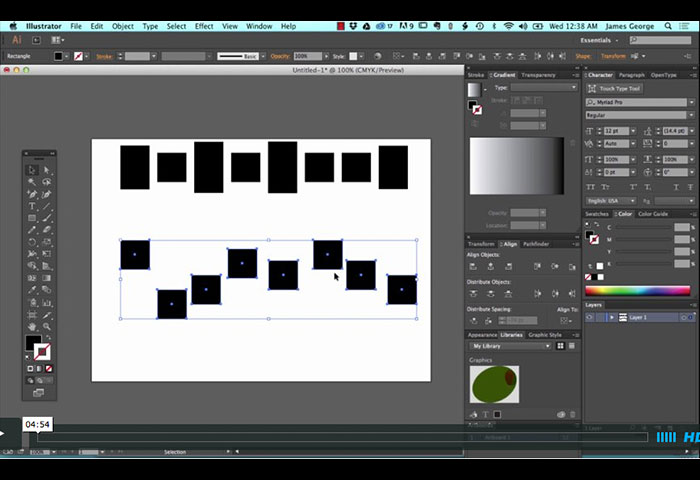
How to Center a Group of Objects in Illustrator?
Centering a group of objects in Illustrator is easy with the help of its Align Panel. To center the objects, first make sure all desired objects are selected. Then open up the Align Panel (Window > Align), and click on “Horizontal Align Center” or “Vertical Align Center” as needed to perfectly align them.
Additionally, you can also select both options at once by clicking on “Align to Artboard” for a one-click solution that will snap your objects into place quickly and easily!
How to Center Align Text in Illustrator?
Centering text in Adobe Illustrator is a simple task that can be completed by selecting the text object and then using the “Align” panel. In this panel, you will find an option to horizontally align your text (in relation to other objects or artboards) and vertically center it as well. Once selected, click on the “Horizontal Align Center” button to center your text within seconds!
How to Center Guides in Illustrator?
Centering guides in Illustrator is a great way to help you accurately align objects within your design. To center a guide, first make sure that the ruler is visible by going to View > Show Rulers. Once the rulers are visible, click and drag from the horizontal or vertical ruler onto your artboard and release when it’s centered where you want it.
You can also use the Align palette (Window > Align) to horizontally or vertically align two selected objects against each other as well as centering them on an artboard.
Conclusion
By following the steps outlined in this blog post, you can easily center an object within Illustrator. From manually aligning to using the Align tool, there are multiple options for centering your object. With just a few clicks of your mouse, you can be sure that your objects will be perfectly centered and aligned exactly as desired.