Last Updated on May 5, 2025 by Jim C.
Making a folding card on Microsoft Word is a simple process. Firstly, open the program and select “Page Setup” from the File menu. In Page Setup, go to the Paper tab and choose “Fold Here”.
Then create your card design in either portrait or landscape orientation. You can use text boxes, shapes, stock photos, and other graphics to make your design unique. When you’re done designing, click Print Preview in the File menu to check that everything looks good before printing it out onto thick paper or card stock so that it folds correctly when finished.
Finally fold along the crease line when printed out according to your desired style of folding card and voila – you’re finished!
- Open Microsoft Word on your computer. This will open up a blank document that you can begin working with.
- Insert a table by clicking the “Table” icon in the ribbon menu at the top of the page, then choose how many columns and rows you want for your folding card design from the drop-down menus that appear when you click this button.
- Add text to each cell of your table by double-clicking inside it, typing your desired text and pressing enter when finished adding content to one cell before moving onto another cell.
- Format each cell of your table as desired using font size, color, bolding or italicizing options available through the formatting toolbar located above where you type in each individual cell of your table design.
- Once all cells have been formatted as desired right-click on any border between two cells and click “Merge Cells” to join them together into larger boxes if necessary for a more creative look or specific sectioning off of information within cards’ design layout.
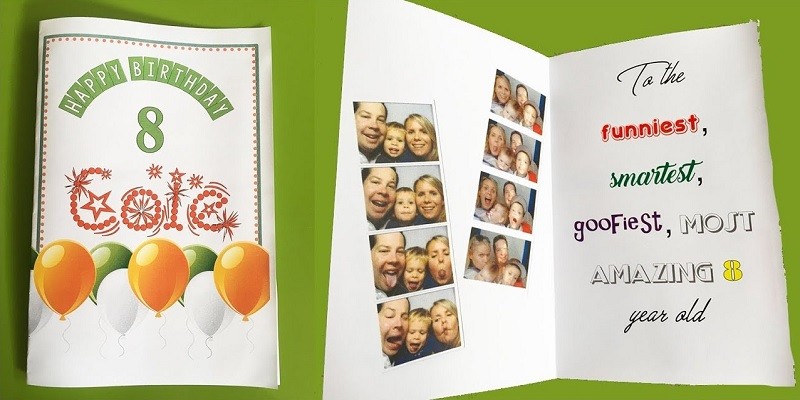
- Insert an image into one or more cells if desired by clicking on either “Picture” or “Clip Art” under Insert tab’s ribbon menu depending on whether you wish to import an image from file or use clip art provided via MS Word respectively.
- Move any objects around within card sections such as images and text blocks until satisfied with overall look and feel by selecting object (text block/image) then dragging it around within its respective table section while keeping mouse pressed down throughout movement process.
- Print out folded card designs once completely happy with overall appearance by clicking File > Print > OK after setting up number copies required , paper orientation , print quality etc.
How to Make Folded Invitations With Microsoft Word : Microsoft Office Software?
How Do I Make Folding Cards in Word?
Creating a folding card in Word is easy and only requires a few simple steps. First, open up a new document in Word and select the “Page Layout” tab on the Ribbon. Then, choose “Columns” from the Page Setup group.
Select either two or three columns depending on what type of card you want to create. Next, adjust your margins by selecting “Margins” from the Page Setup Group and setting them to zero inches all around. Now you can begin entering your text into each column section as if they were separate pages that will be folded together once printed out.
When printing out your folding card, make sure to set it for double sided printing so that when it is folded there is writing on both sides of the paper! Finally, fold along where indicated with scissors or a ruler and enjoy your brand-new custom-made folding card!
How Do You Make a 5X7 Folded Card in Word?
Making a 5×7 folded card in Word is quite simple. First, open up a blank document and go to Page Layout > Size > Custom Size. Set the width of your paper to 7 inches and the height to 10 inches – this will create an upside down “L” shape when you fold it in half later.
Next, add any text or images that you would like on your card. When you’re done designing the front side, press CTRL-Enter twice so that you have two pages (one for each side). On page 2 of your document, add whatever design elements or text that you would like on the inside of your card and then save it as a PDF file for easy printing.
Finally print out your finished project onto heavy stock paper, cut along the edges using scissors or a trimmer and fold in half for a perfect 5×7 folded card!
Is There a Card Template in Word?
Yes, there is a card template available in Microsoft Word. The templates are located under the “File” menu and then select “New” from the list of options. Once selected, you will be presented with hundreds of pre-made templates for creating cards including holiday cards, birthday cards, thank you notes and more.
With these templates, you can customize your card by adding text or images to create something unique that fits perfectly with your event or occasion. In addition to this basic customization feature, most of the card templates also offer additional features such as border color selection, background designs, special fonts and other design elements to make sure that each card looks exactly how you want it to look.
How Do I Make a Bifold Pamphlet in Word?
Making a bifold pamphlet in Word is fairly straightforward. First, create a new document and adjust the page size to landscape orientation. Next, divide the page into two equal columns by selecting “Columns” from the Layout tab.
From there, enter your text for each side of the pamphlet and utilize different options such as font type, color and size; pictures or graphics; borders; etc., to customize your design. Lastly, print out on thick paper stock (such as cardstock) so that it can stand up when folded in half lengthwise for a finished bifold pamphlet effect.

Credit: www.online-tech-tips.com
How to Make a Foldable Birthday Card on Word?
Making a foldable birthday card on Word is easy and fun! Start by opening up your Microsoft Word document. Then, use the drawing tools to create two rectangles side-by-side.
Once you have created the rectangles, select both of them and right click to access “Format Shape.” From there, change the shape style to “Fold” and adjust any other settings that you want for the card’s appearance. Now all that is left is to customize your card however you would like with colorful text or images!
You can even print it out on thicker paper so it stands up when folded in half.
How to Print on a Folded Card in Word?
Printing on a folded card in Microsoft Word is easy once you know how to set up your document. To do so, first create two sections of your document by selecting Layout > Columns and choosing the number of columns that you want for each section. Then, insert a text box into each column and type in the desired content for each side of the card.
When finished, select File > Print and choose “Folded Card” as the paper size option before printing it out. With this method, you can easily print on both sides of a folded card using Microsoft Word!
How to Make a 4 Fold Card on Microsoft Word?
Creating a 4 fold card on Microsoft Word is a straightforward process. Begin by opening up your word processing software and selecting the blank document option. From there, you can insert an image into the document and adjust its size to fit within the fourfolded area of the card.
Add text boxes or other elements as desired, then print off your card onto thick paper stock so that it can be folded along its creases without tearing. Finally, fold the printed sheet along its edges to create your finished 4-folded product!
Conclusion
Making a folding card on Microsoft Word is not as difficult as it may seem. With the right steps and knowing which tools to use in the program, you can create your own unique card for any occasion. After following these step-by-step instructions, you should now be able to confidently make a folding card on Microsoft Word in no time at all.
Whether it’s for someone special or just for fun, this technique can help you craft beautiful cards with ease.