
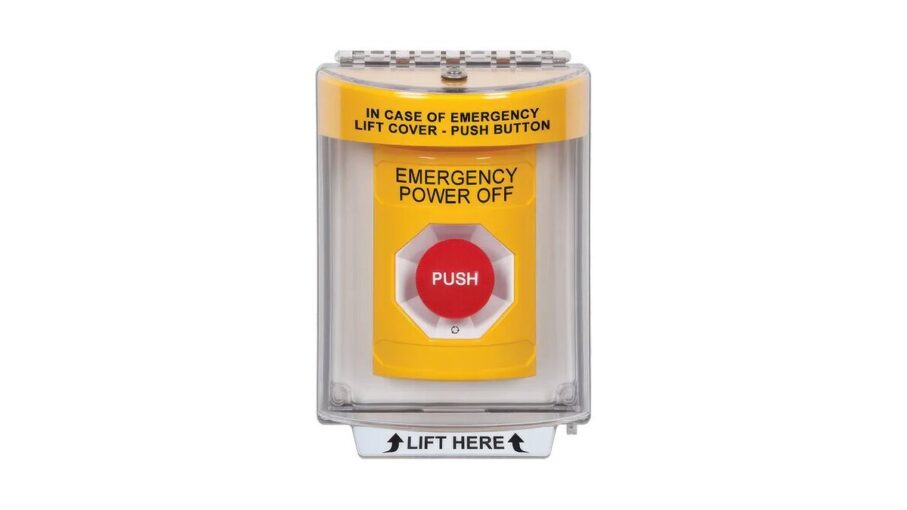
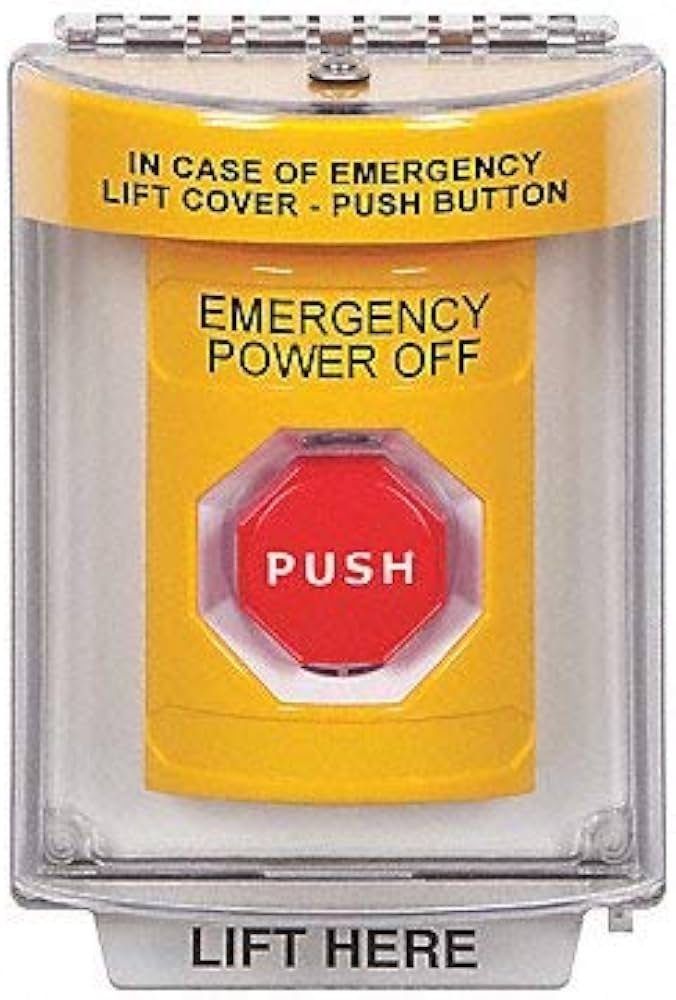
Safety Technology International Emergency Power off Push Button
A safety technology international emergency power off push button provides a critical manual override to cut electrical current to machinery or systems during hazardous situations. These units act as a physical stop switch to prevent injury or equipment damage when automated sensors fail or human intervention is required immediately.
Parts for installation
| Item | How much | Why it’s needed | A substitute |
|---|---|---|---|
| Mounting screws | 2-4 units | Secures the housing | none — don’t swap this |
| Screwdriver | 1 tool | Tightens terminal blocks | none — don’t swap this |
| Wire strippers | 1 tool | Prepares cable ends | Wire cutter with care |
| Electrical wire | 12-18 gauge | Connects the switch | none — don’t swap this |
| Voltage tester | 1 tool | Confirms power is off | none — don’t swap this |
| Conduit fittings | 1-2 units | Protects external wiring | none — don’t swap this |
Preparation before mounting
- Switch off the main circuit breaker at your distribution panel to ensure the line is dead.
- Use a non-contact voltage tester on the wires to confirm there’s no remaining current.
- Clear the wall or machine frame of debris to ensure the mounting plate sits perfectly flat.
- Read the Safety Technology International installation guide to verify your specific model’s wiring diagram.
- If you lack basic electrical experience, consult a licensed electrician, as improper installation can create fire hazards or render the emergency stop ineffective.
Wiring the device
- Remove the front cover of the enclosure by loosening the screws on the corners.
- Feed your supply wires through the conduit opening at the bottom of the switch housing.
- Strip 1/2 inch of insulation from the ends of your supply and load wires.
- Insert the wires into the normally closed (NC) terminal blocks on the back switch.
- Tighten the terminal screws until the wires don’t move when pulled gently.
- Verify the connections match the diagram printed on the inside of the housing cover.
- Mount the enclosure to the wall or panel surface using the provided mounting holes.
- Replace the front cover and tighten the screws to seal the unit against dust.
- Restore power to the circuit at the main breaker panel after checking for loose parts.
Confirming the operation
Test the button by pressing the actuator firmly until it locks in the depressed position. Once locked, the power to the connected equipment must stop immediately. If the machine continues to run, turn off the main power and re-check your terminal connections. To reset the system, rotate the button head clockwise or pull it outward depending on the model. This check confirms the mechanical link is functional and the electrical path is correctly interrupted for safe emergency use.
Troubleshooting common issues
| What happened | Why | What to do |
|---|---|---|
| Button won’t click | Debris in mechanism | Clean inside with air |
| Power stays on | Wired to NO terminal | Move to NC terminal |
| Loose housing | Stripped mounting hole | Use wall anchors |
| Terminals sparking | Loose wire connection | Tighten terminal screws |
| Stuck button | Internal spring failure | Replace the unit |
Frequency of inspections
Test the switch regularly to ensure the mechanical parts move freely without sticking. Factors like high dust environments or heavy vibration increase the need for frequent checks. If the button is installed in a dirty factory setting, inspect it as part of your usual clean to prevent buildup. Always perform a visual check after any impact or accidental strike to ensure the housing remains intact and the electrical contacts are secure.
Frequently asked questions
Can I install this switch myself?
Yes, you can perform the installation if you have basic electrical knowledge and confirm the power is off. If you’re uncomfortable working with high-voltage wiring, always hire a licensed electrician to avoid injury.
Why is the switch not stopping the machine?
The wires are likely connected to the normally open (NO) terminals instead of the normally closed (NC) terminals. Check your wiring against the provided diagram to ensure the circuit opens when you press the button.
How long does the switch last?
The mechanical lifespan is typically rated for over 100,000 cycles, assuming standard indoor use and proper maintenance. You can find the exact cycle rating for your specific model on the manufacturer’s official technical datasheet.
Is it safe to use in wet areas?
No, the standard push button housing isn’t rated for direct water exposure unless it’s an IP-rated model. Check the label on the side of your enclosure for the ingress protection rating before installing it.
What happens if the button is bumped?
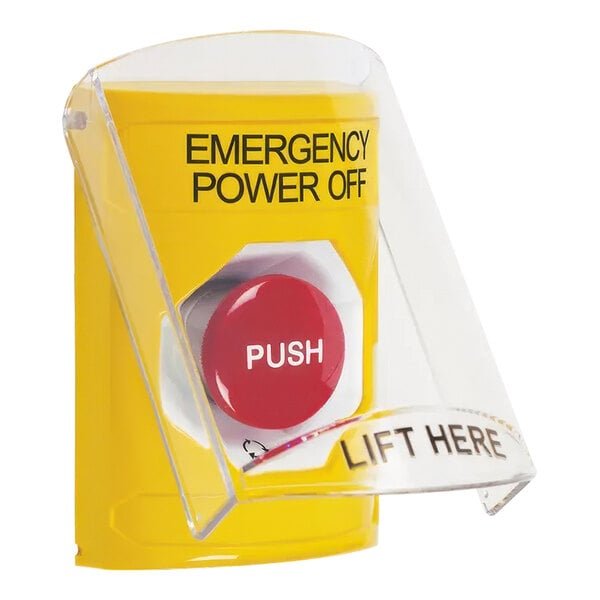
The button may trigger an emergency stop, shutting down your equipment unexpectedly. If this happens often, install a protective cover or guard to prevent accidental contact while keeping the switch accessible for real emergencies.
Does it matter which wire goes where?
Yes, you must connect the wires to the correct terminal ports to ensure the circuit functions as a safety break. Using the wrong terminals will cause the machine to stay powered or fail to stop.
How do I reset the button?
You reset the unit by either rotating the button head clockwise or pulling it straight out, depending on your model. Check the arrows on the button face, which indicate the direction for a successful reset.
Safety technology, in short
Regular maintenance ensures that your safety equipment remains reliable when you need it most. Keep the area around the button clear of obstacles so operators can reach it without delay during an emergency, and document your testing schedule to keep your facility compliant with local safety standards.
